REPAIR ARTICLES
Explore Storm Door Pricing Options for Smooth Operation
Find out how our pricing options can solve common problems that plague storm doors, from wind damage to sagging and dragging. Explore innovative techniques that ensure smooth operation, enhanced durability, and improved safety. With our expert guidance, you can update and restore your storm doors, turning them into durable entrances that are both practical and aesthetically pleasing.
Overcoming Water Damage and Improving the Sunroom Entry Door
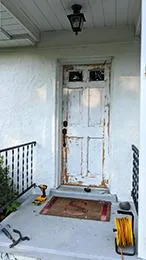
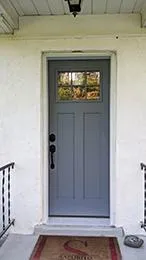
In the process of replacing the door in a West Grove sunroom, we encountered several unexpected issues, including areas where things weren't quite right and the presence of water in inappropriate places. Upon closer inspection, we discovered that the door's entire subfloor, stretching all the way across, had suffered extensive rot due to water damage. Additionally, the water damage had extended beneath the stub wall, requiring us to remove approximately 8 or 6 inches of affected material.
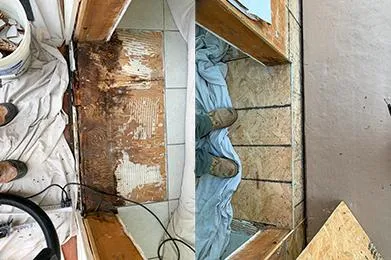
To rectify the situation, we promptly removed the compromised front rim joist and replaced it with a new piece. Furthermore, we took measures to enhance stability by installing new blocking between the old plywood subfloor and the new piece, effectively preventing any undesired rocking or movement.
One of our primary concerns was to establish a proper flashing system to safeguard against water infiltration. By implementing the correct flashing techniques, we ensured that any water originating from the windows or around the door would be directed outward, in front of the structure. This strategic approach effectively eliminated the opportunity for water to seep behind the components and cause further dampness. The result is a secure and weather-resistant entryway, providing peace of mind and a renewed sense of functionality for the sunroom space.
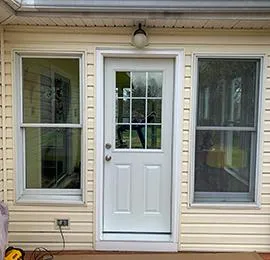
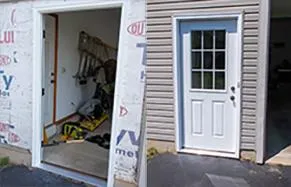
Strengthening the Side Entry Door for Long Term Protection
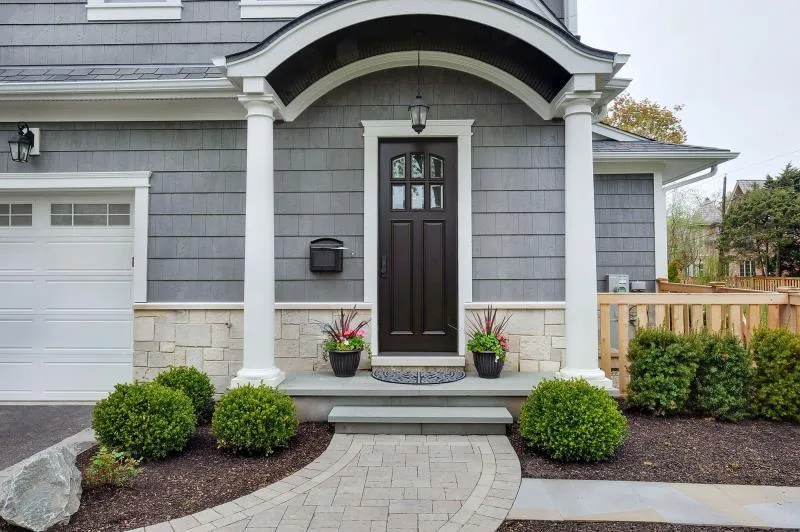
Are you facing the need for a door replacement? Perhaps it's possible to save your existing door in Landenberg and focus on improving the exterior instead. In the case of a water-damaged side entry door, we often find that the prime finger jointed brick mold wood fails to preserve the paint, allowing moisture to seep in and deteriorate the wood over time.
To address this issue, we recommend a more effective approach. Rather than relying solely on tart paper and incomplete coverage with the j channel, we advocate for proper house wrap installation that extends behind the door jamb. This ensures a tight seal between the brick mold and the house wrap, effectively preventing moisture infiltration. Additionally, we examine the flashing above the door, assessing the presence of an aluminum drip cap that directs water away from the front edge.
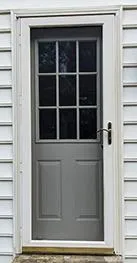
To further safeguard against water damage, we evaluate the insulation between the door jamb and the door itself. By sealing the brick mold into the house wrap and employing a fiberglass door with a full composite jam, we create a water-resistant barrier that shields the door unit from potential harm. During the installation process, we take meticulous steps to prevent water from seeping down and causing damage to the surrounding materials. With our expertise in addressing water damage and improving door functionality, we can ensure a long-lasting and secure solution for your side entry door.
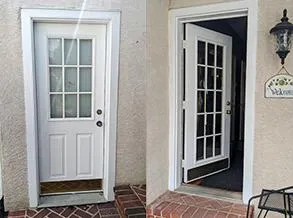
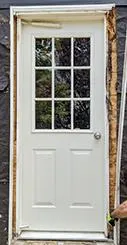
When examining the exterior entry door in Oxford, we observed a one-and-a-half-inch thick one-by-eight on the side and top, while the other jam leg was constructed with nails driven into the two-by-eight frame as the blocks were being laid. These nails served to secure the framers into the cement block. A wood strip was added, exposing the end grain of the cinder block with stucco applied on the outside. Inside, there was stripping to allow for electrical space behind it, followed by plaster.
The two-by-eight extended all the way down to the basement and rested on a sill plate on both sides. To prevent cement from seeping into the basement, we took precautions by using quick-dry cement and placing a wooden block to fill the gap. By packing it tightly with cement and aggregate, we ensured that any water that bypassed the door wouldn't find an easy path into the basement.
The existing tapered cement cill presented a challenge as it needed to be leveled to avoid height issues. We used a grinder to flatten it out and achieve a level surface. Additionally, the door dimensions required a specific size that brought us right up to the ceiling. We carefully chipped away excess mortar at the top, creating the necessary space to install the new crest and door unit. By addressing these structural considerations and implementing appropriate measures, we enhanced the stability and functionality of the exterior entry door within the cinder block and stucco masonry.
Side Entry Door Repairs and Replacements
1. Single Man Garage Door: Budget of $1,500-$2,000
2. Exterior Stucco, Fiber Cement Board or Brick: No Less Than $3,500